Why Google Analytics?
If you have a website, you should be using Google Analytics, One of the first things you must do if you are launching a new site is get tracking set up for Google Analytics.
- Getting people to your website is the first big hurdle you face, but making sure they stick around and come back is just as important, Google Analytics tracks that information for you.
- You can figure out how traffic flow's to your website like if it's referral or organic and then work on your SEO to improve your websites visiblity.
- Demographic's about your website visitor's like their country of residence, age group, devices etc.. which can be extremely useful if you're trying to cater to certain individuals of specific country or age group.
- Google Analytics works on the hybrid model meaning it offers the freemium service as well as paid service. Small business owner's can use this service for free without paying any amount or monthly charge. But if you want more advanced features then you will have to pay a fee.
Ease of Use
Google Analytics is a powerful analytics tool but it can be a bit complicated. If you are not a technically-inclined person, figuring out how to use Google Analytics can be quite a challenge.
Getting started
Before we start working on our NextJS application we need to set up a Google Analytics account. If your account's a new one then Google will redirect you to the Account setup page.
- Give an appropriate name for your account and set the Account Data Sharing Settings according to your preferences.
- Next create a Property name and set your Country, Timezone and the Currency.
- Fill up the Business Information page based on your needs and also make sure to check ** Measure customer engagement with my site or app ** with that done accept Google Analytics Terms of Service you will be brought to a Set up a data stream page.
- Next let's choose the platform as Web provide the Canonical Url of your website and a stream name so you can easilly identify it.
- Copy the measurement Id from the Web stream details page, The id will look something like this G-XXXXXXXXX.
with that done let's start working on our NextJS application. Create a simple NextJS application by running
npx create-next-app next-google-analytics
This will create a broilerplate code for us to work with now go to the project directory created and let's start our devlopment server with
# If you're using npm
npm run dev

# If you're using yarn
yarn dev
now create a lib/gtag.js file on the root of our directory and copy and paste the following to it.
export const GA_TRACKING_ID = "G-XXXXXXXXXX";
// if you don't want to place your id in this file you can add it to
// the .env.local file and reference it in here like so
// export const GA_TRACKING_ID = process.env.NEXT_PUBLIC_GA_TRACKING_ID

declare const window;

export const pageview = (url) => {
  window.gtag("config", GA_TRACKING_ID, {
    page_path: url,
  });
};

export const event = ({ action, category, label, value }) => {
  window.gtag("event", action, {
    event_category: category,
    event_label: label,
    value: value,
  });
};
with that out of the way go to our _app.jsx file and add these lines.
import Router from 'next/router';
import React, { useEffect } from 'react';

import * as gtag from '@/lib/gtag';

export default function MyApp({ Component, pageProps }) {
  useEffect(() => {
    const handleRouteChange = (url: string) => {
      gtag.pageview(url);
    };
    Router.events.on('routeChangeComplete', handleRouteChange);
    return () => {
      Router.events.off('routeChangeComplete', handleRouteChange);
    };
  }, []);

  return <Component {...pageProps} />;
}
we use Router here to allow gtag to track pageviews and events individually. so when a Router event occur's gtag will use the current page's detail's instead of the default one. And now let's add the tracking code snippet to our _document.jsx file
import Document, { Html, Head, Main, NextScript } from 'next/document';

import { GA_TRACKING_ID } from '@/lib/gtag';

class MyDocument extends Document {
  render() {
    return (
      <Html lang="en">
        <Head>
          {/* Global Site Tag (gtag.js) - Google Analytics */}
          <script
            async
            src={`https://www.googletagmanager.com/gtag/js?id=${GA_TRACKING_ID}`}
          />
          <script
            dangerouslySetInnerHTML={{
              __html: `
            window.dataLayer = window.dataLayer || [];
            function gtag(){dataLayer.push(arguments);}
            gtag('js', new Date());
            gtag('config', '${GA_TRACKING_ID}', {
              page_path: window.location.pathname,

              <!-- this line is used to supress
              the SameSite warining that will be throwed -->
              cookie_flags: 'SameSite=None;Secure'
            });
          `
            }}
          />
        </Head>
        <body>
          <Main />
          <NextScript />
        </body>
      </Html>
    );
  }
}

export default MyDocument;
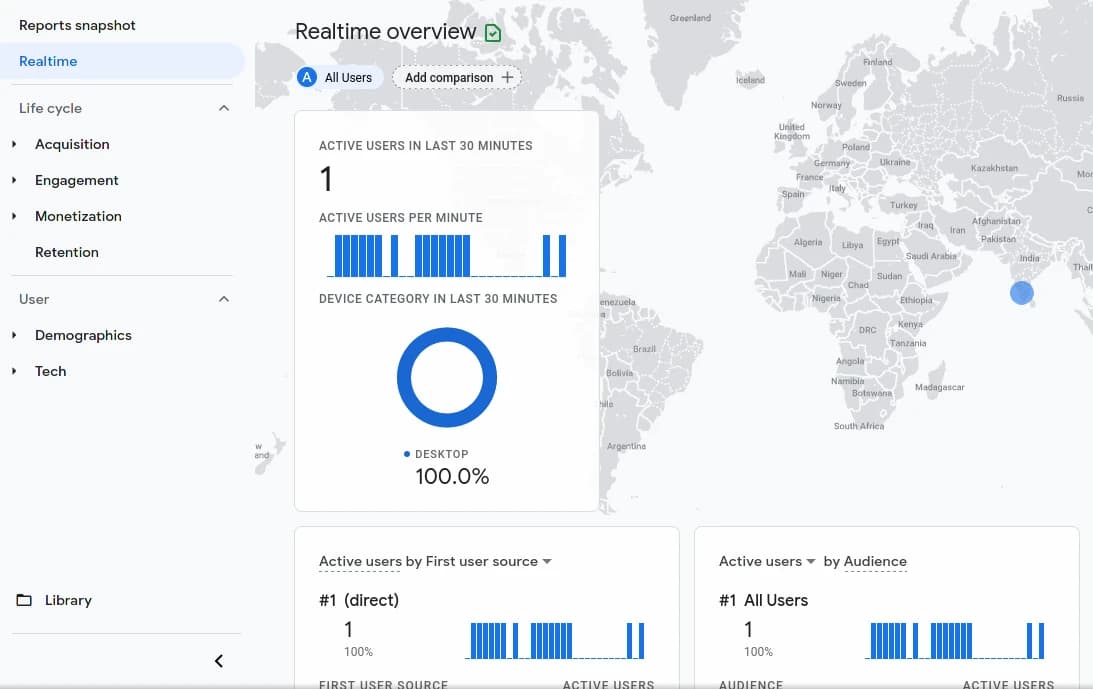
we will use dangerouslySetInnerHTML to inject our tracking code snippet to the head of our website/application. With that we have added our tracking code to our NextJS application successfully let's test it out by going to Google Analytic's Dashboard and check the Realtime tab which will show our current user session.

And that's it we have successfully added Google Analytics to your NextJS application, Futhermore you can make use of Google Analytics to track your websites Acquisition, Engagement, Monetization, Retention etc.. Make use of the data to drive traffic to your website.
